
How to Set a Mouse Trap: Step-by-Step Guide for Canadian Homes
How to Set a Mouse Trap in 7 Easy Steps
In this article
TL;DR
- Put on gloves, bait the pedal first with a pea-sized dab, then pull back the kill bar and latch it with the arm bar.
- Hook just the tip of the arm bar into the pedal notch. If the trap snaps as you let go, it's in too deep. If it won't hold, it's not in far enough.
- Use sticky peanut butter, which UC IPM says is usually effective, rather than cheese, and keep it pea-sized. Too much bait can let a mouse eat without setting off the trap (UC IPM).
- Place each trap along a wall at a right angle, with the bait end touching the wall, forming a T (HealthLink BC, CDC).
- Several traps set at once usually work better, even for one mouse; keep them where children and pets can't reach.
A mouse trap that sits untouched for weeks is often not a broken one. It may hold too much bait, carry human scent or sit in the open, while the mice keep running along the wall right beside it.
Setting a mouse trap well comes down to a few details: gloves, a pea-sized dab of peanut butter on the trigger, and placement against a wall with the bait end touching it. Every trap type arms a little differently, and the classic wooden snap trap takes the most practice, since its arm bar has to catch the pedal notch at just the right depth.
How Do You Set a Wooden Snap Mouse Trap?
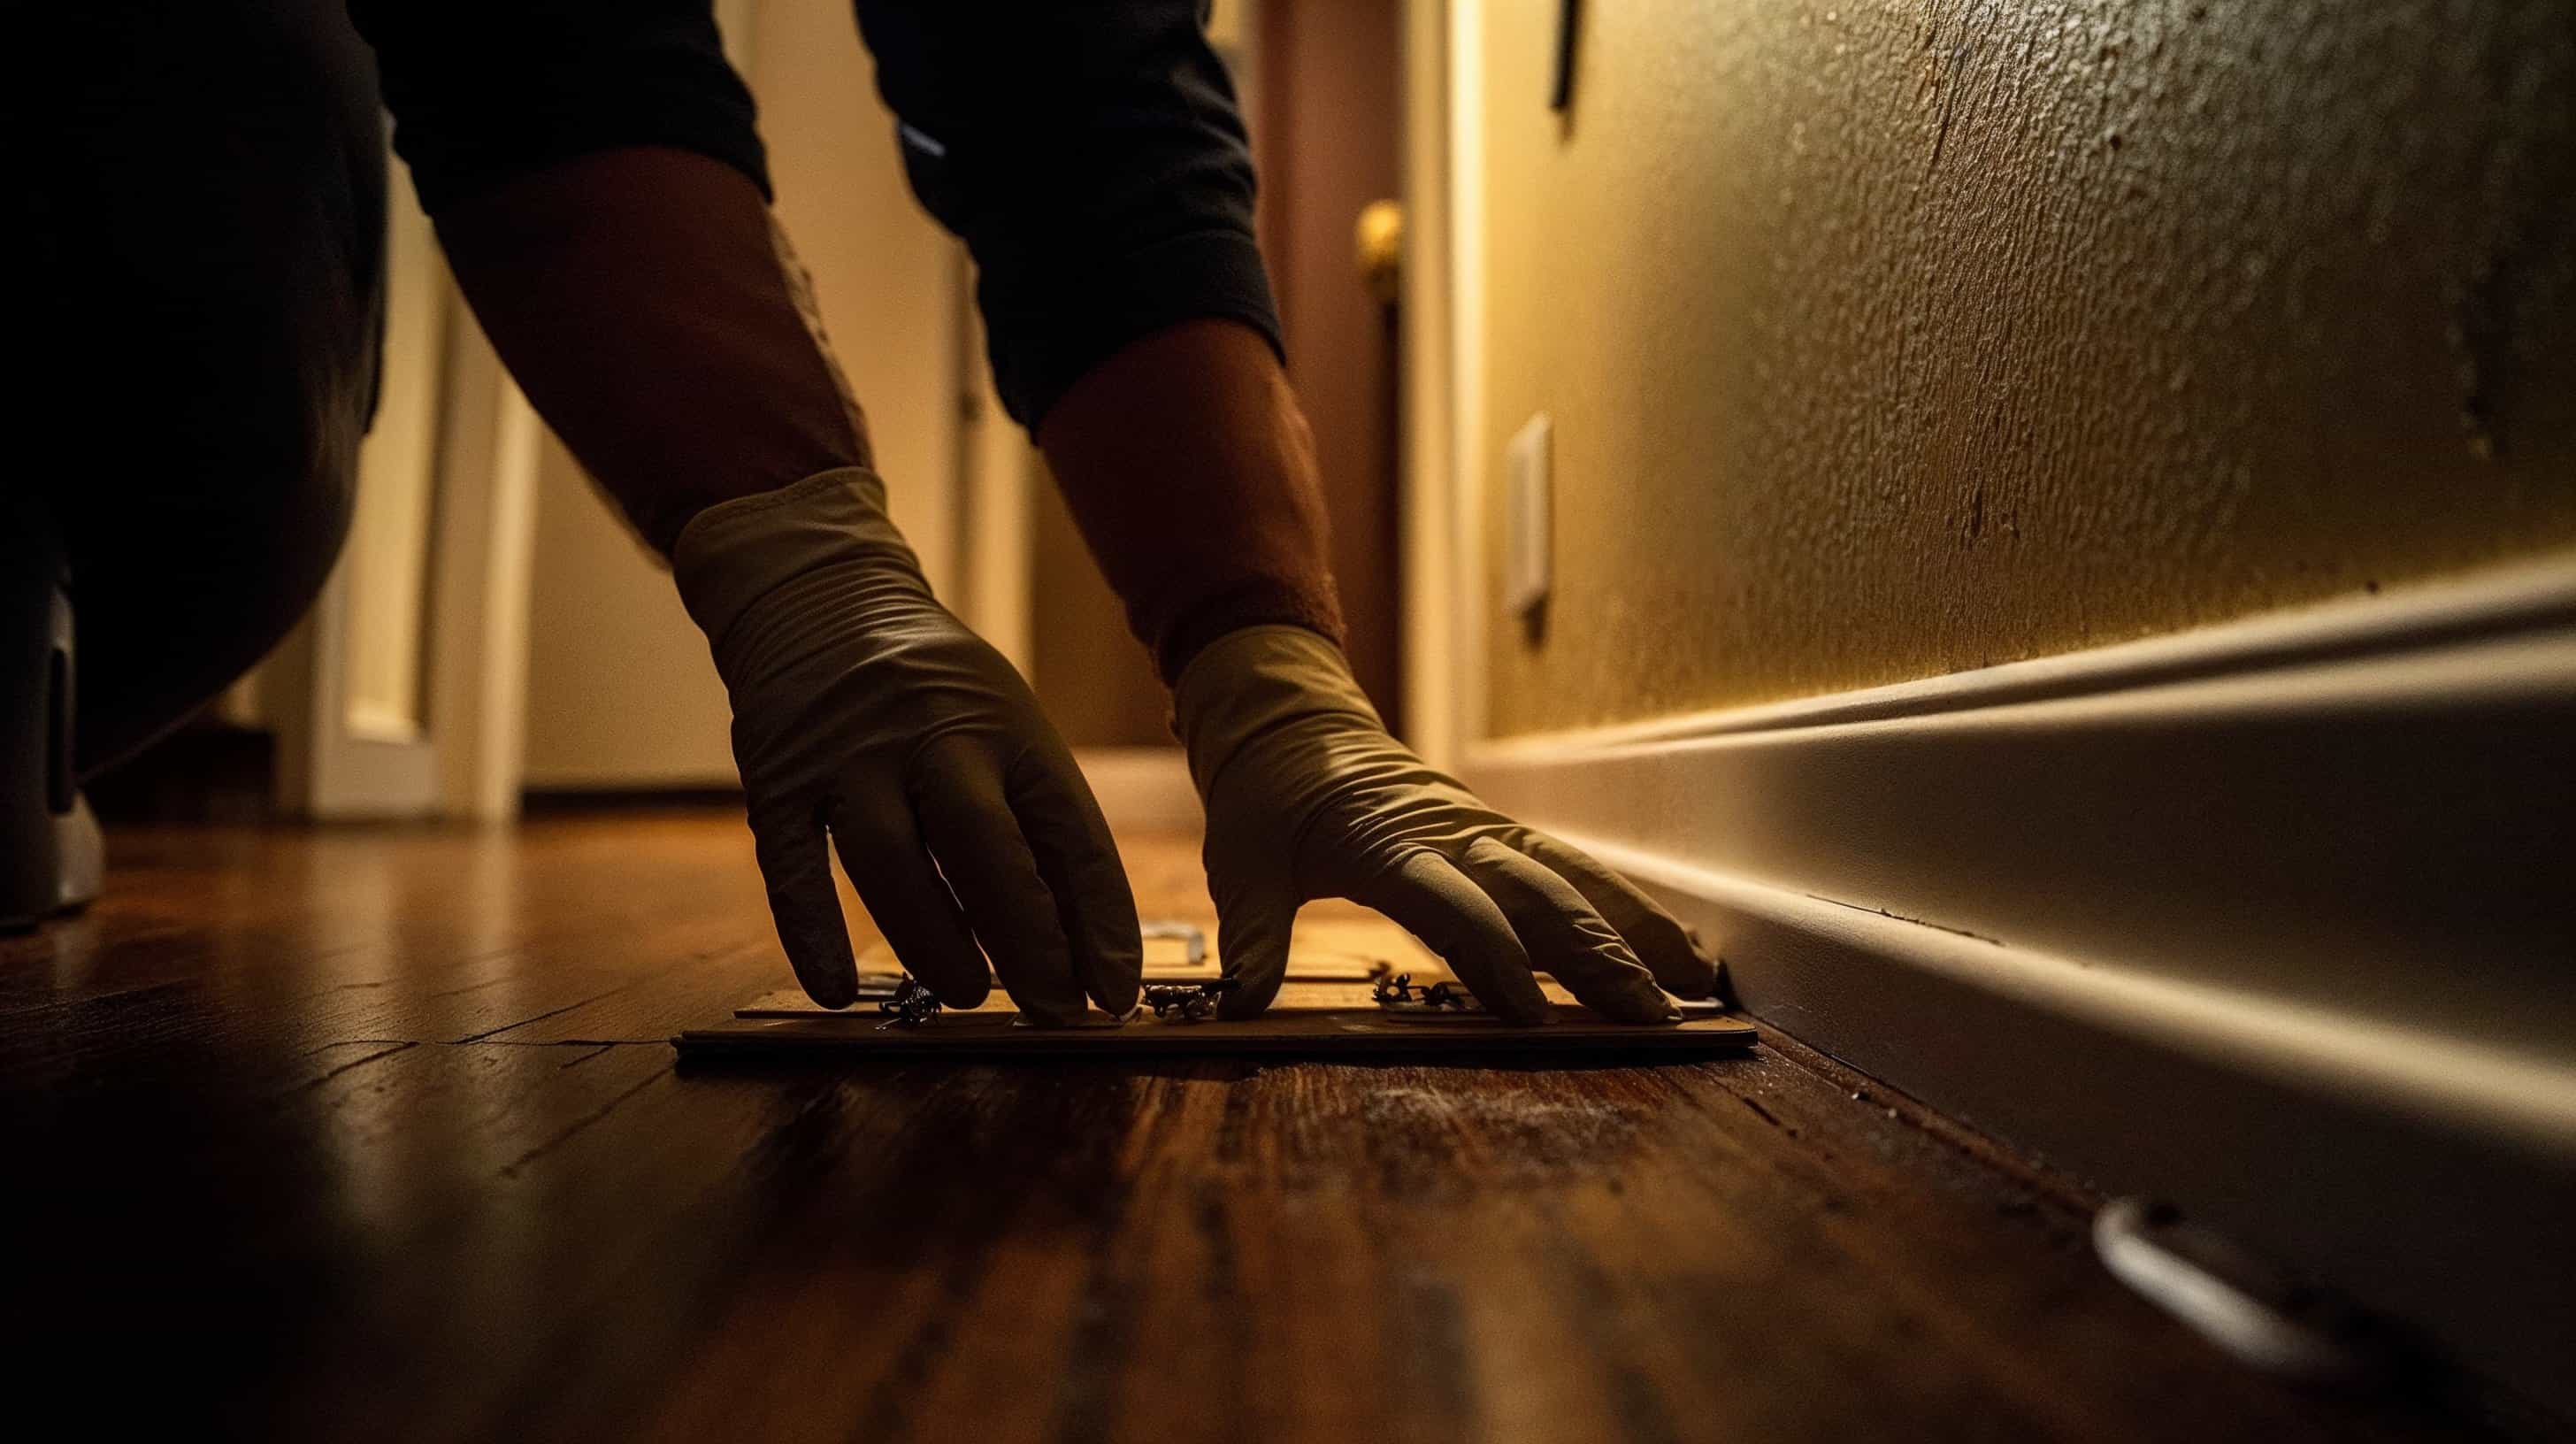
Setting a wooden snap mouse trap takes about a minute: bait the pedal first, then pull back the kill bar and latch it with the arm bar. The classic wooden snap trap is cheap, reusable and can be one of the most effective tools for mice. Here is what you need:
- Wooden snap traps (several, not just one)
- Bait such as peanut butter
- A toothpick or cotton swab to apply the bait
- Disposable gloves
Then follow these steps, based on Victor's instructions for its classic metal pedal trap:
- Put on gloves to help keep your scent off the trap.
- Release the arm bar (the thin metal wire) from the staple that holds it and let it hang over the back of the trap.
- Apply a pea-sized amount of bait to the pedal with a toothpick or cotton swab.
- Pull the kill bar (the U-shaped spring bar) all the way back and hold it down with your thumb.
- Swing the arm bar over the kill bar and hook its end into the notch on the pedal.
- Slowly lift your thumb until the arm bar holds the kill bar in place. Keep your fingers out of the kill bar's path the whole time.
- Carefully place the trap along a wall, with the bait end touching the wall.
Baiting the Pedal
Baiting the pedal comes first, before you pull back the kill bar, so your fingers are never near an armed trap. Use only a pea-sized amount and press it into the pedal so the mouse has to tug at it, which springs the trap. Using a toothpick or cotton swab helps keep your scent off the trap, as Victor recommends.
Latching the Arm Bar
Latching the arm bar is the step that takes practice. Hook the very tip of the arm bar into the notch on the pedal, then release the kill bar slowly. If the trap snaps as you let go, the arm bar may be too deep in the notch; if it will not hold, it may not be in far enough. Practise a few times without bait if you are new to it, and always hold the trap by the end opposite the kill bar.
Pedal Sensitivity
Pedal sensitivity changes how easily the trap fires. Some wooden traps, like the Victor Easy Set with its plastic pedal, may let you choose between a Firm setting (easier to set, less sensitive) and a Sensitive setting (harder to set, fires with less pressure). Start with Firm if you are nervous about setting traps, and switch to Sensitive if mice are taking the bait without getting caught.
How Do You Set Other Types of Mouse Traps?
Other types of mouse traps set differently, but the same rules apply: a small amount of bait, gloves, and the trigger or entrance end against the wall. If you have not bought traps yet, our tested picks for the best mouse trap compare the options available in Canada.
Plastic Snap Traps
Plastic snap traps are the easiest to set. Put bait in the bait cup, then press or pull back the bar until it clicks and locks. Models such as the Tomcat Press 'N Set are designed to lock with one squeeze, and some show an indicator when they have caught a mouse. To release a mouse, open the jaws with the lever or tab instead of your fingers.
Electronic Mouse Traps
Electronic mouse traps usually kill with a high-voltage shock inside a closed chamber. Put the bait only in the bait cup at the back, never on the metal plates, then place the trap on a flat surface against a wall, with the entrance closest to the wall, and switch it on. Victor's electronic trap typically runs on 4 AA batteries, and Victor advises against rechargeable batteries because their lower voltage may make the trap less effective. Electronic traps are made for indoor use.
Enclosed Disposable Traps
Enclosed disposable traps usually hide the mouse from view once caught. Bait the compartment, twist or press the trap to set it until the indicator shows it is armed, and place it on a hard surface, usually along a wall. When the indicator shows a catch, throw out the whole trap without opening it.
Live-Catch Traps
Live-catch traps are designed to catch mice without killing them. Put a pea-sized amount of bait at the far end of the trap, close the lid fully, and set it flush against a wall where mice travel. Check live traps several times a day: the Government of British Columbia notes that live traps may cause significant stress, and a captured mouse can also suffer from heat or lack of water. Releasing a mouse close to home often does not solve the problem, because it can find its way back.
Glue Traps
Glue traps are not a recommended method. Mice caught on glue boards may suffer for a long time and adult mice often avoid them; the US CDC advises against glue traps and live traps, and UC IPM notes that trapped mice can urinate as they struggle, which raises the risk of hantavirus. Some BC municipalities, such as the District of North Vancouver, have reportedly banned glue traps on municipal property. A snap or electronic trap is a more humane choice.
What Is the Best Bait for Mouse Traps?
The best bait for mouse traps is usually a small amount of a sticky, high-protein or high-fat food that the mouse has to work at on the trigger. If mice are already eating something in your home, such as pet food or birdseed, that food can make good bait too (UC IPM).
Peanut Butter
Peanut butter is the classic bait for mouse traps because it is aromatic and sticky, so the mouse cannot grab it and run. Cheese, despite its reputation, is usually not the top choice: it tends to be less sticky, so a mouse can lift it off the pedal more easily. If someone in your home has a peanut allergy, or if children could touch the traps, use another bait.
Chocolate Spread
Chocolate spread or hazelnut spread works much like peanut butter. Victor lists chocolate and hazelnut spread among its recommended high-protein, high-fat baits, along with bacon bits and jerky.
Nesting Material
Nesting material, such as a cotton ball or a strand of dental floss tied around the pedal, can also attract mice, sometimes even when food is plentiful. UC IPM notes that it can work well because female mice tend to gather soft material to build nests.
Bait Amount
The right bait amount is usually about the size of a pea. UC IPM warns that too much bait can let a mouse eat without setting off the trap. Refresh the bait when it dries out, usually about once a week.
Where Should You Place Mouse Traps?
Mouse traps work best placed along walls where mice travel, with the bait end touching the wall. Mice tend to avoid open spaces and run along edges, so a trap in the middle of the floor is usually wasted. To find the right spots, look for droppings, gnaw marks and grease marks, and read our guide on where mice hide in your house.
Along Walls
Along walls is usually where mouse traps catch the most mice. Good spots include behind the stove and refrigerator, under sinks, inside lower cabinets, in dark corners, along basement and garage walls, and near entry points in the attic, basement or crawlspace (CDC).
Trap Orientation
Trap orientation matters as much as location. Set each trap at a right angle to the wall with the bait end touching it, forming a T, so a mouse running along the wall walks straight into the trigger. This is a commonly recommended position. You can also set two traps side by side, about 2.5 to 5 cm (1 to 2 inches) apart, which can help catch mice that jump over the first one (UC IPM).
Trap Spacing
Trap spacing depends on the source, but more traps are always better than fewer. Victor suggests spacing traps about 60 to 90 cm (2 to 3 feet) apart, and the Thunder Bay District Health Unit suggests about 1 to 2 metres (3 to 6 feet) in areas where you see mice. UC IPM advises using enough traps to make the trapping period short and decisive, so it usually helps to set several at once rather than one at a time.
Pre-Baiting
Pre-baiting means leaving baited traps unset for a few days so mice get used to them, then setting them all at the same time. It helps when mice are wary of new objects, and Victor notes that placing unset traps for a short time helps mice get comfortable approaching them.
Child and Pet Safety
Child and pet safety comes first with any trap. Place traps where children and pets cannot reach them, such as behind appliances, inside cabinets or on high ledges. If that is not possible, put the trap inside a child-resistant station or a box with a mouse-sized hole at one end.
What Do You Do After a Mouse Trap Catches a Mouse?
After a mouse trap catches a mouse, handle it with gloves, bag it, and clean up safely, because mice can carry germs. In Canada, deer mice can carry hantavirus, which can spread through dust from droppings, urine and nesting material, so the Public Health Agency of Canada (PHAC) recommends specific cleanup steps.
Checking Traps
Checking traps every day lets you remove mice quickly, before they start to smell or attract insects. Check live-catch traps several times a day. If a trap has not caught anything in a few days, try moving it to another spot along the wall.
Disposing of a Dead Mouse
Disposing of a dead mouse safely takes a few minutes:
- Put on rubber or plastic gloves.
- Spray the mouse and the trap with a household disinfectant or a mix of 1 part bleach to 9 parts water, and let it soak.
- Place the mouse in a plastic bag (lift the kill bar to release it, or throw out the whole trap), seal it, and put it in a second bag.
- Put the bag in the garbage, and check your local by-laws.
- Wash your gloved hands in disinfectant, remove the gloves, and wash your hands with soap and water.
Cleaning Droppings
Cleaning droppings safely means never sweeping or vacuuming them, because that sends contaminated dust into the air. PHAC recommends wetting droppings and nesting material with disinfectant or 1 part bleach to 9 parts water (UC IPM also advises a 10% bleach solution), letting it soak for about 10 minutes, then wiping it up with paper towels. In an enclosed space such as a shed or crawlspace, air it out first and wear an N95 respirator, as the Public Health Agency of Canada advises for confined spaces. Our guide on how to clean mouse droppings walks you through it.
Resetting the Trap
Resetting the trap is safe once it has been disinfected and you are wearing gloves. Re-bait it, re-arm it and put it back in the same spot, since mice tend to use the same routes. Wooden traps can be reused, but many people prefer to throw out a soiled trap and use a new one.
Knowing When You Are Done
You are done when traps stay empty and you see no new signs. The CDC suggests that no catches for a week and no fresh droppings or gnaw marks can be a sign the problem is over. Then seal entry points so new mice cannot get in: our guide on finding and sealing mouse entry points shows you how.
When to Call a Pest Control Professional
Calling a pest control professional makes sense when you keep catching mice week after week, when you hear activity inside walls or ceilings, or when you find signs in several rooms. Those are signs of a larger mouse infestation that traps alone may not solve. Our guide on when to call a mice exterminator explains the warning signs.
Frequently asked questions
Which way should a mouse trap face?
Set the trap at a right angle to the wall, with the bait end touching the wall, so it forms a T. A mouse running along the wall walks straight into the trigger.
How many mouse traps should I set?
Set several at once, even for one mouse. Place traps along walls where you see activity, usually about 60 cm to 2 metres apart, and add more in busy areas. More traps make the trapping period shorter.
Should I wear gloves when setting a mouse trap?
Yes. Gloves keep your scent off the trap and protect you from germs when you handle bait, traps and dead mice. Wash your hands with soap and water afterwards.
Can I use poison instead of traps?
Traps are the safer choice in most homes. Poisoned mice may die inside walls, and the Government of British Columbia warns that poison can harm pets, children and wildlife. In Canada, rodent poisons sold for home use generally have to be used in bait stations, and the Government of British Columbia restricts the sale and use of the strongest anticoagulants.
Why is my mouse trap not catching anything?
The most common reasons are too much bait, a trap placed away from the wall, a pedal set too firm, or human scent on the trap. Use about a pea-sized amount of bait, set the trap against the wall, wear gloves, and move it after a few days without catches.
Dealing with mice right now?
Answer a few short questions and we pass your request to a pest control company ranked near you.
Get a free quote